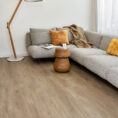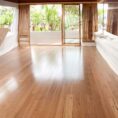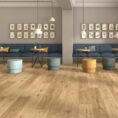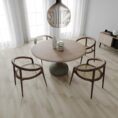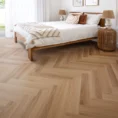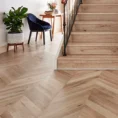


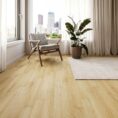





Laminate flooring blends timeless design with modern engineering — and Arta Floor brings Melbourne homeowners a premium range that’s as durable as it is beautiful. In this guide, you’ll learn how to lay Laminate Flooring step by step, with professional tips to ensure a flawless finish. From preparation to finishing touches, every stage is crafted for those who want their home to reflect both quality and sophistication.
Laminate flooring offers the charm of natural timber with advanced resistance to wear and moisture. At Arta Floor, every product is carefully selected for its durability, authentic texture, and long-lasting performance.

Melbourne’s diverse climate calls for flooring that can adapt. Laminate performs exceptionally well in variable temperatures and humidity. Its floating installation also makes it perfect for apartments, townhouses, and open-plan homes across the city.

Professional installation starts with professional preparation. Having the right tools ensures accuracy and longevity.
A flawless subfloor means a flawless result. Follow these steps before starting.
The surface should be flat within 3 mm over 2 m. Test using a level. For concrete, ensure moisture is below 75% RH and apply a vapour barrier if required.
Remove all old adhesives, nails, or imperfections. Sweep and vacuum thoroughly. Uneven surfaces should be levelled with appropriate compounds.
Choose an acoustic underlay for sound absorption and comfort underfoot. Premium IXPE or foam underlays recommended by Arta Floor enhance both quietness and stability.
Determining where to start laying laminate flooring affects both aesthetics and practicality.
Begin from the straightest wall in the room, ensuring spacers maintain expansion gaps. Always dry-lay the first two rows to confirm your layout before locking boards.

Let’s break down exactly how laminate flooring is installed with professional precision.
Leave unopened cartons in the room for 24–48 hours so planks adjust to Melbourne’s indoor temperature and humidity.
Roll out underlay across the clean subfloor. Tape the seams securely for stability.
Position spacers along the wall. Insert the tongue of each plank toward the wall, locking end joints together before lowering into place.
Insert each plank’s long edge at an angle into the previous row’s groove and click down. Tap gently for a tight joint.
Measure and cut planks around door frames, corners, and pipes. Maintain expansion space around all fixed objects.
For the final row, cut planks to fit. Use a pull bar to ensure a snug connection, then remove spacers.

Reinstall skirting boards or fit matching scotia mouldings to conceal expansion gaps. Fix trims to walls — never to the flooring.
Install transition strips where laminate meets tiles, carpet, or other surfaces. These details complete the premium look.
Vacuum gently and wipe with a damp cloth to remove installation dust. Avoid using water or steam for at least 48 hours.
Maintaining your laminate floor keeps it looking pristine for years.
| Feature | Description | Benefit for Melbourne Homes |
| High-Density Core (HDF) | Stable, durable board structure | Prevents warping in variable climates |
| Scratch-Resistant Coating | Multi-layer wear protection | Keeps floor looking new longer |
| Realistic Timber Texture | Embossed surface finish | Adds warmth and natural feel |
| Water-Resistant Technology | Sealed edges | Safe for kitchens and dining areas |
| Acoustic Underlay | Sound-absorbing layer | Reduces noise between floors |
If you’re wondering who can lay laminate flooring to the highest standard, Arta Floor’s recommended Melbourne installers deliver precision and care. From layout planning to final trims, every step is handled with the quality and attention your home deserves.
If you would rather have it done for you, see our laminate flooring installation service in Melbourne.
Premium laminate from Arta Floor can last long years with proper care.
Typically parallel to natural light or the longest wall for visual harmony.
Yes, with proper moisture protection and underlay.
Use a slightly damp mop or soft vacuum. Avoid harsh chemicals and steam.
Thicker cores, superior coatings, and realistic finishes sourced for long-term performance.
Yes — it provides sound insulation and stability, enhancing comfort and lifespan.
Absolutely. Arta Floor partners with experienced Melbourne installers for perfect results.
Yes, it’s engineered for durability and easy upkeep — ideal for active households.
Enhance your home with the finest laminate flooring from Arta Floor Melbourne. Explore premium designs, expert installation, and long-lasting quality trusted by homeowners across Victoria.